 |
|
 |
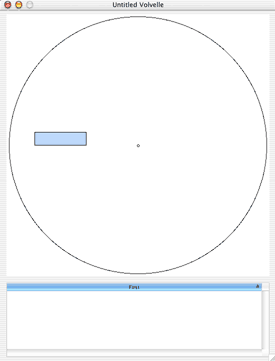 One Row and One Column |
Volvelleteer starts by
displaying the minimal volvelle in its window. This volvelle displays
the information in a table with a single row and a single column. The upper part of the window shows the volvelle layout. The circle is the wheel of the volvelle and it will be scaled, depending on your printing or export options. There is only one column, so there is only one data slot visible. Data slots are shown in dark gray or in the selection color (light blue here) if they are selected. When you actually make the volvelle, these data slots will be cut out of the front wheel so that data from one row of the table will be visible at a time. The lower part of the window shows the data table. Here it has one column and one row. The column is selected, as is the data slot, so you can tell which data will appear where in your volvelle. You edit data in the table by clicking on a cell and typing. |
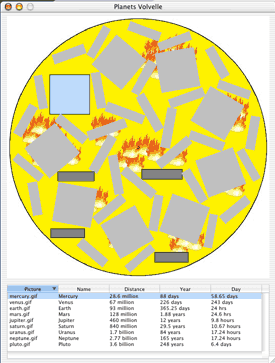 Nine Rows and Five Columns |
You add data to the volvelle by using the Row > Insert to add new rows and Column > Insert to add new columns to the table. Inserting a Column
When you insert a new column, a new data slot appears on the volvelle
disk and a new column appears in the table below. You can move the data
slot around using your mouse. Click it towards the center and drag it.
To resize it, click and drag one of the edges. This does not work very
well, but it sort of works. You can also rotate a data slot by grabbing
one of the corners. If you do this by mistake, use the Edit > Zero
Angle command to reset it. |
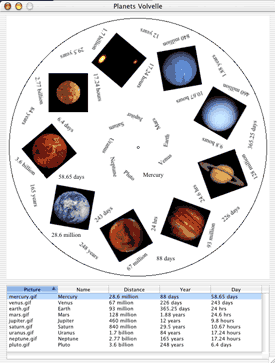 A Preview of the Rear Wheel
|
Inserting a BackdropTo get a backdrop for your volvelle, create some circle themed artwork and save it in JPEG or GIF format. (Actually, you can use any format Quicktime can handle if you have Quicktime). Use the File > Import Backdrop command to import a backdrop image.If you want fancy edges for your data slots, you can export the artwork using the File > Export Volvelle option. Then, edit the output and reimport it into Volvelleteer. Previewing the Rear WheelThe File > Preview menu item presents a preview of the rear wheel, so you can get a sense of just how cluttered it is getting. |
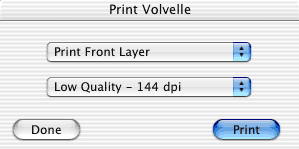 The Print Dialog
|
PrintingWhen you are ready to print out a volvelle, you will have the option to use higher or lower resolution. Depending on your printer, the fonts chosen and the quality of the artwork, you will need to experiment with this for the best results. Remember also to work with you printers Page Setup options, since most printers have speed and quality tradeoffs. |
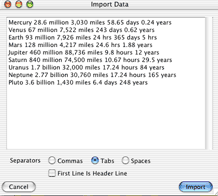 Importing a Table
|
Importing a TableIf you already have a small table of data in a file, or you just find Volvelleteer's table editing options to be obnoxious, you can import your table directly into Volvelleteer.The file should be an ordinary ASCII text file. There should be just one row of data on each line. Volvelleteer will try and guess your column break character, which may be a comma, a tab or a space. |